

React is a JavaScript library used to create beautiful, eye-catching user interfaces in web applications
React was downloaded 1,025,630,896 times in 2023. That number is a mouth full right?
Source "npm-stat.com"
With great power comes great responsibility. As software developers, we have the privilege to create something out of nothing and it has to be the most fascinating feeling ever.
One way to be responsible as software developers is to adopt Test Driven Development or TDD.
TDD is today considered the standard in the software development life cycle.
In this article, we will look at testing a basic react app with Cypress. We will focus more on end-to-end testing or E2E.
What is Testing?
Testing as the name implies is the process of checking software or a code block runs as intended and there are no surprises.
As mentioned earlier in regards to front-end testing can be in two forms, unit testing and end-to-end testing.
What is Unit Testing?
Unit testing involves isolating a part or a module of a software or codebase and testing that in isolation making sure it does what it is meant to do.
For example, you have a login page with two text inputs for email and password, you have a button to trigger an action on click. Unit testing will be like testing only the input field for email making sure the input is captured and registered correctly.
What is end-to-end Testing?
E2E testing is a type of testing that does not require isolating a part or a module but rather testing everything from start to finish.
Bringing back the example of the web app, E2E testing will involve not only testing the login page but also what comes after the login page to the very end of the application.
For the sake of this article, I made a basic react app. You can clone and follow along. https://github.com/Shoetan/cypress-test
Step 1: Clone and navigate to the project directory and run the code below. This will download all dependencies.
yarn install
Step 2: Go to https://docs.cypress.io/guides/getting-started/installing-cypress and go to the getting started tab.
Step 3: Install cypress in your project NB: You should be in your project directory.
npm install cypress --save-dev
Step 4: Run this command. This will open a browser-like testing environment called Launchpad. You can use npx but I just like using yarn.
yarn run cypress open
Cypress will do some verification in the background and once everything is ok you will be greeted with a screen like this.

Step 5: Choose the kind of test you want to carry out. At the beginning of this article, I said we are focusing on E2E testing. So choose E2E testing from the screen below.

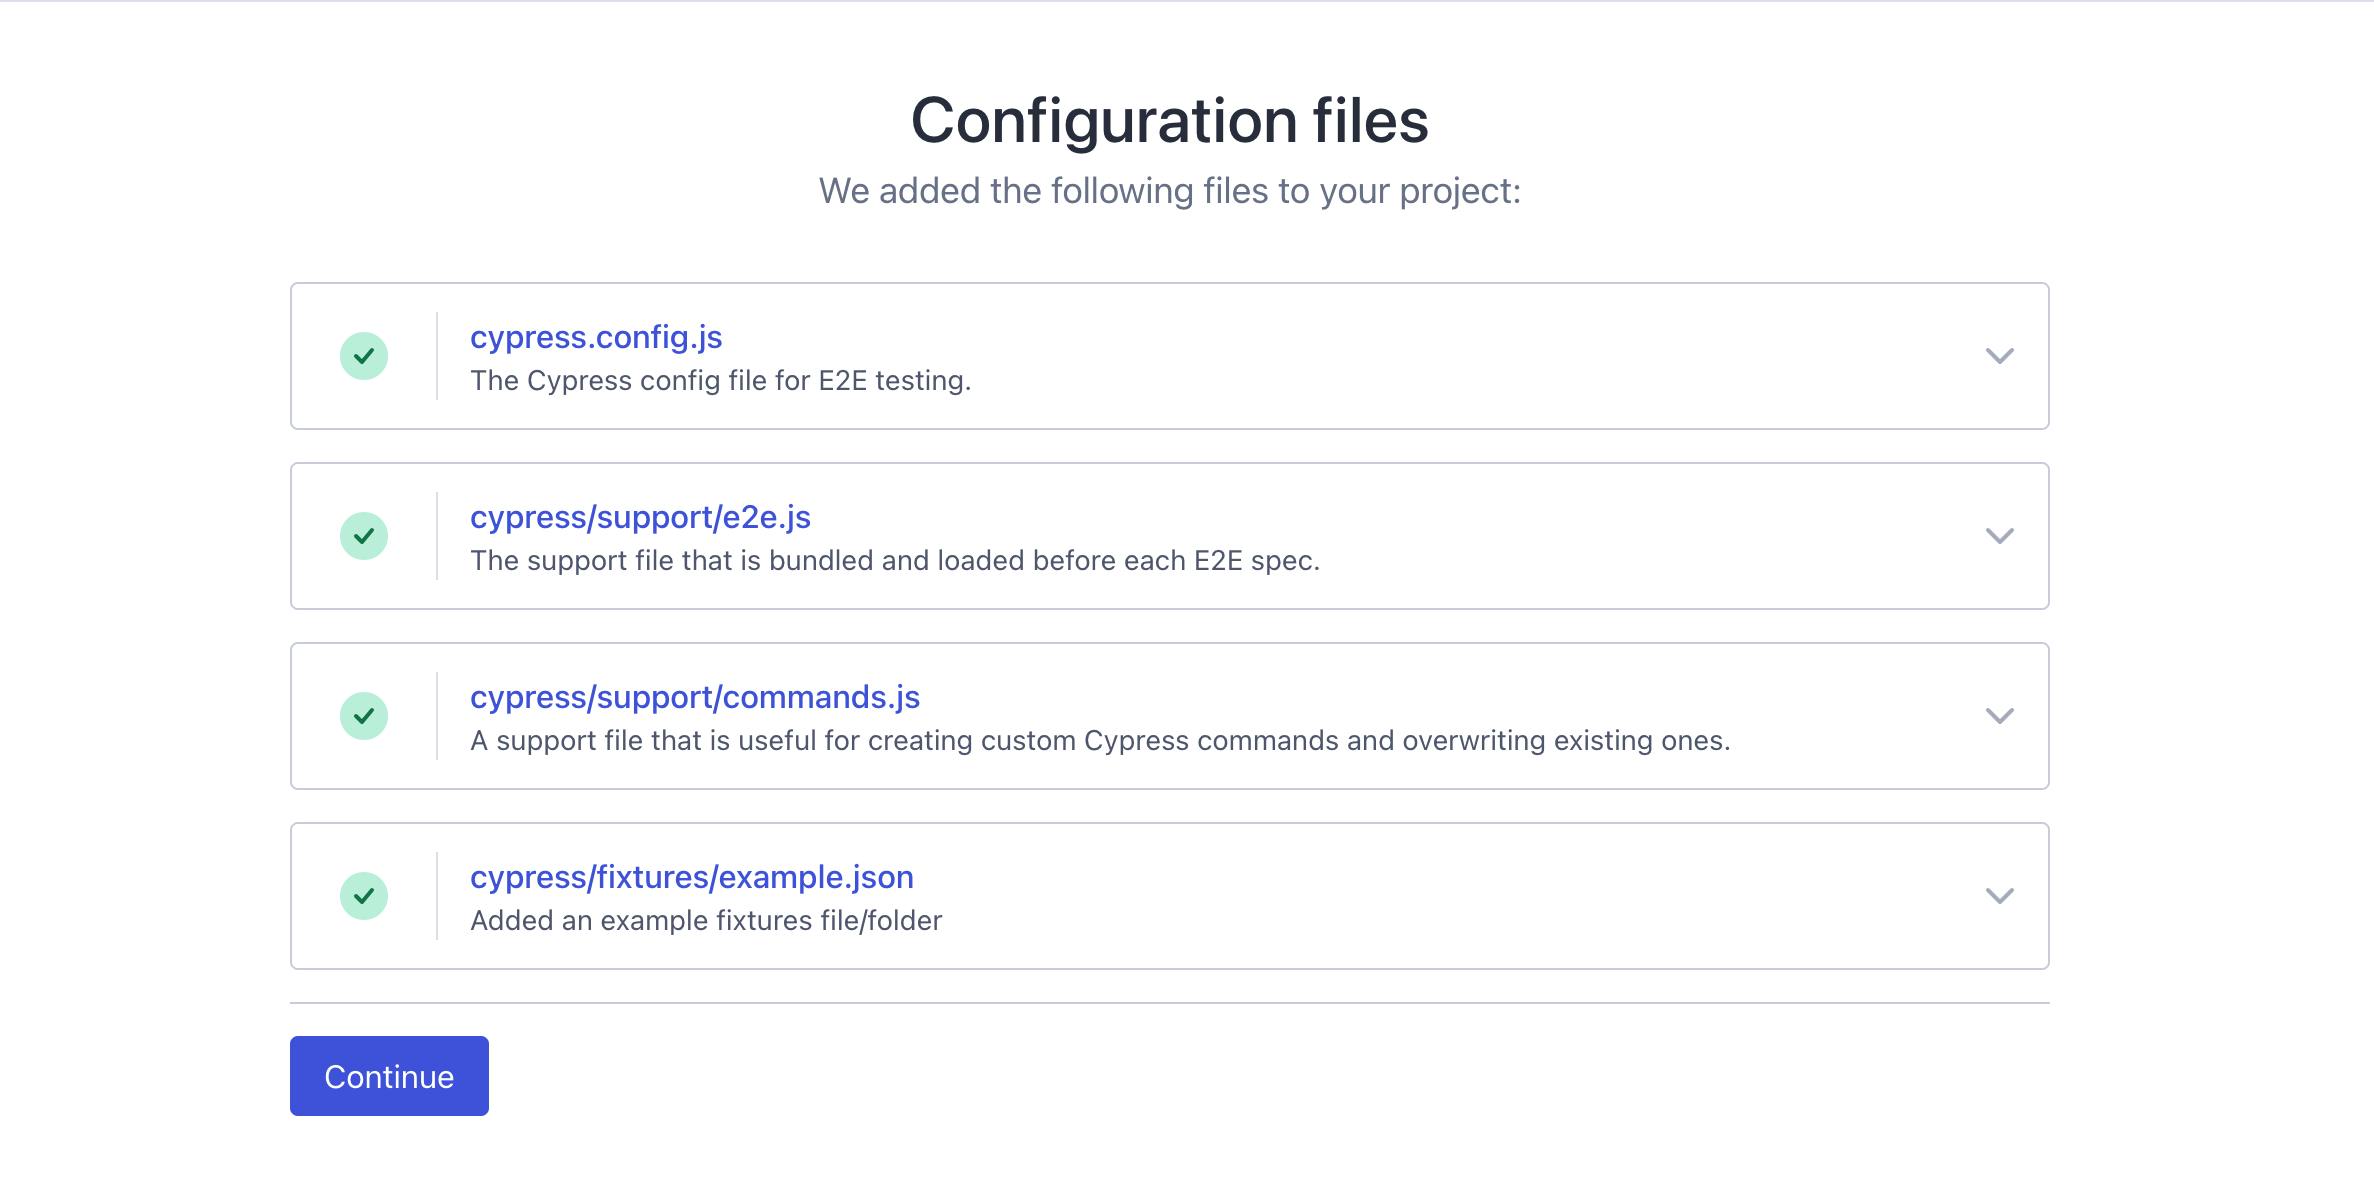
Step 6: After selecting the type of testing you want to run some configurations have to be done to your project so just click continue.
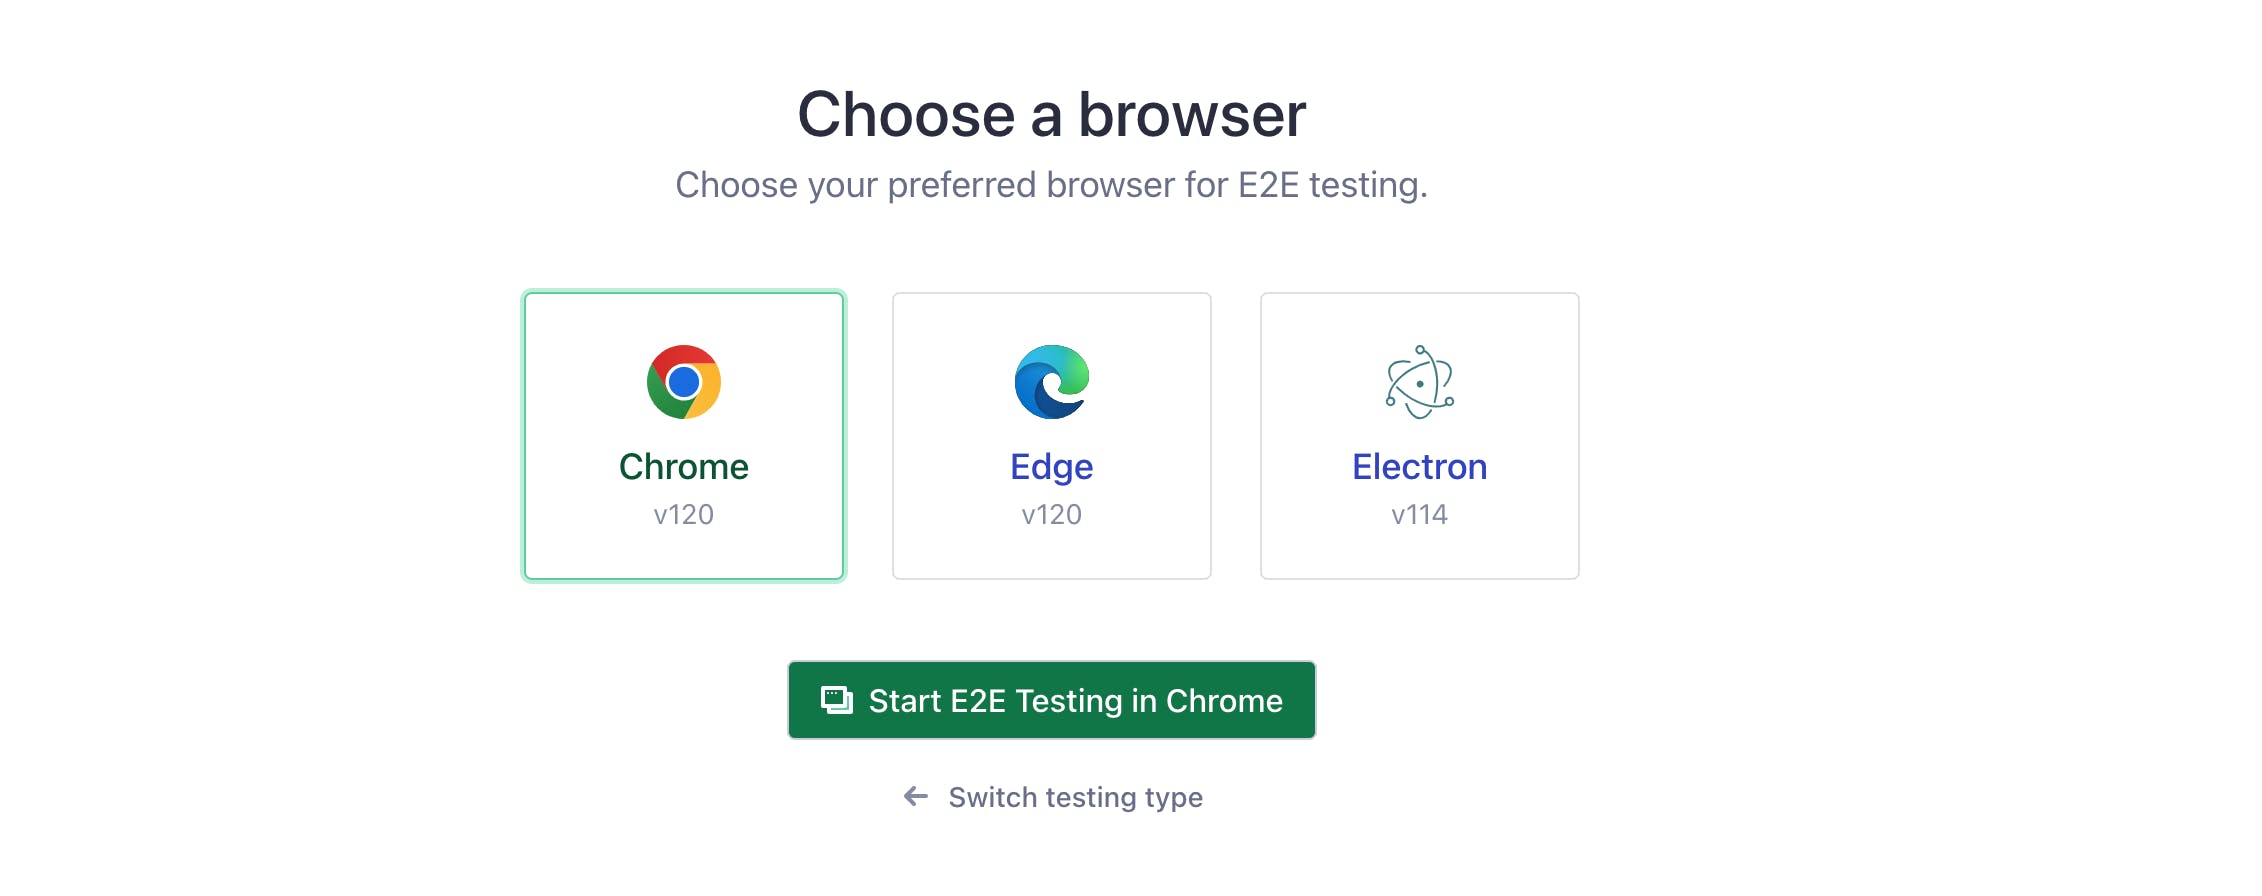
Step 7: After a successful configuration you get to pick which browser you want. I just go for Chrome always.
Congratulations you just successfully installed and configured cypress in your application and you can start testing now.
Take a look at your project in your text editor you will see a folder called Cypress has been added to your folders.
Step 7: Click on create new spec. A spec is essentially just a test file that is all it is. This file has an extension of .cy .js .

Step 8: Click on ok to run a spec file. You can name this file anything I will name mine firstTest. Click create spec. This will add a spec file to your project.

Step 9: Navigate to your text editor or IDE menu bar look inside the cypress folder there will be a folder named e2e in that folder lies your test code.
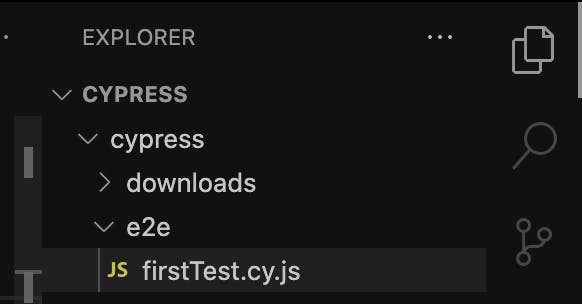
If you cloned the sample project earlier this is what it looks like. Very basic we would be testing the counter.
Right now we can begin testing. Let's say we want to test the counter making sure that the h1 element exists and we display something to the user. But first;
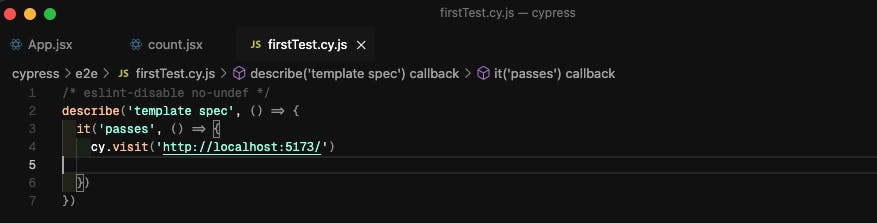
Step 10: Go to the test file mine is called firstTest.cy.js and replace the example URL with the local URL your react app is running on.
Step 11: Add a property to the element you want to test. In our case, we are testing the counter. This property is exclusively used for testing purposes.
<h1 class="counter" counter-testid="counter" >
        {counter}
 </h1>
Step 12: Go to your test file and use the test id to get the element you are testing. Your test file code should look like below now.
describe('template spec', () => {
  it('passes', () => {
    cy.visit('http://localhost:5173/')
    cy.get('[counter-testid="counter"]').should("exist")
  })
})
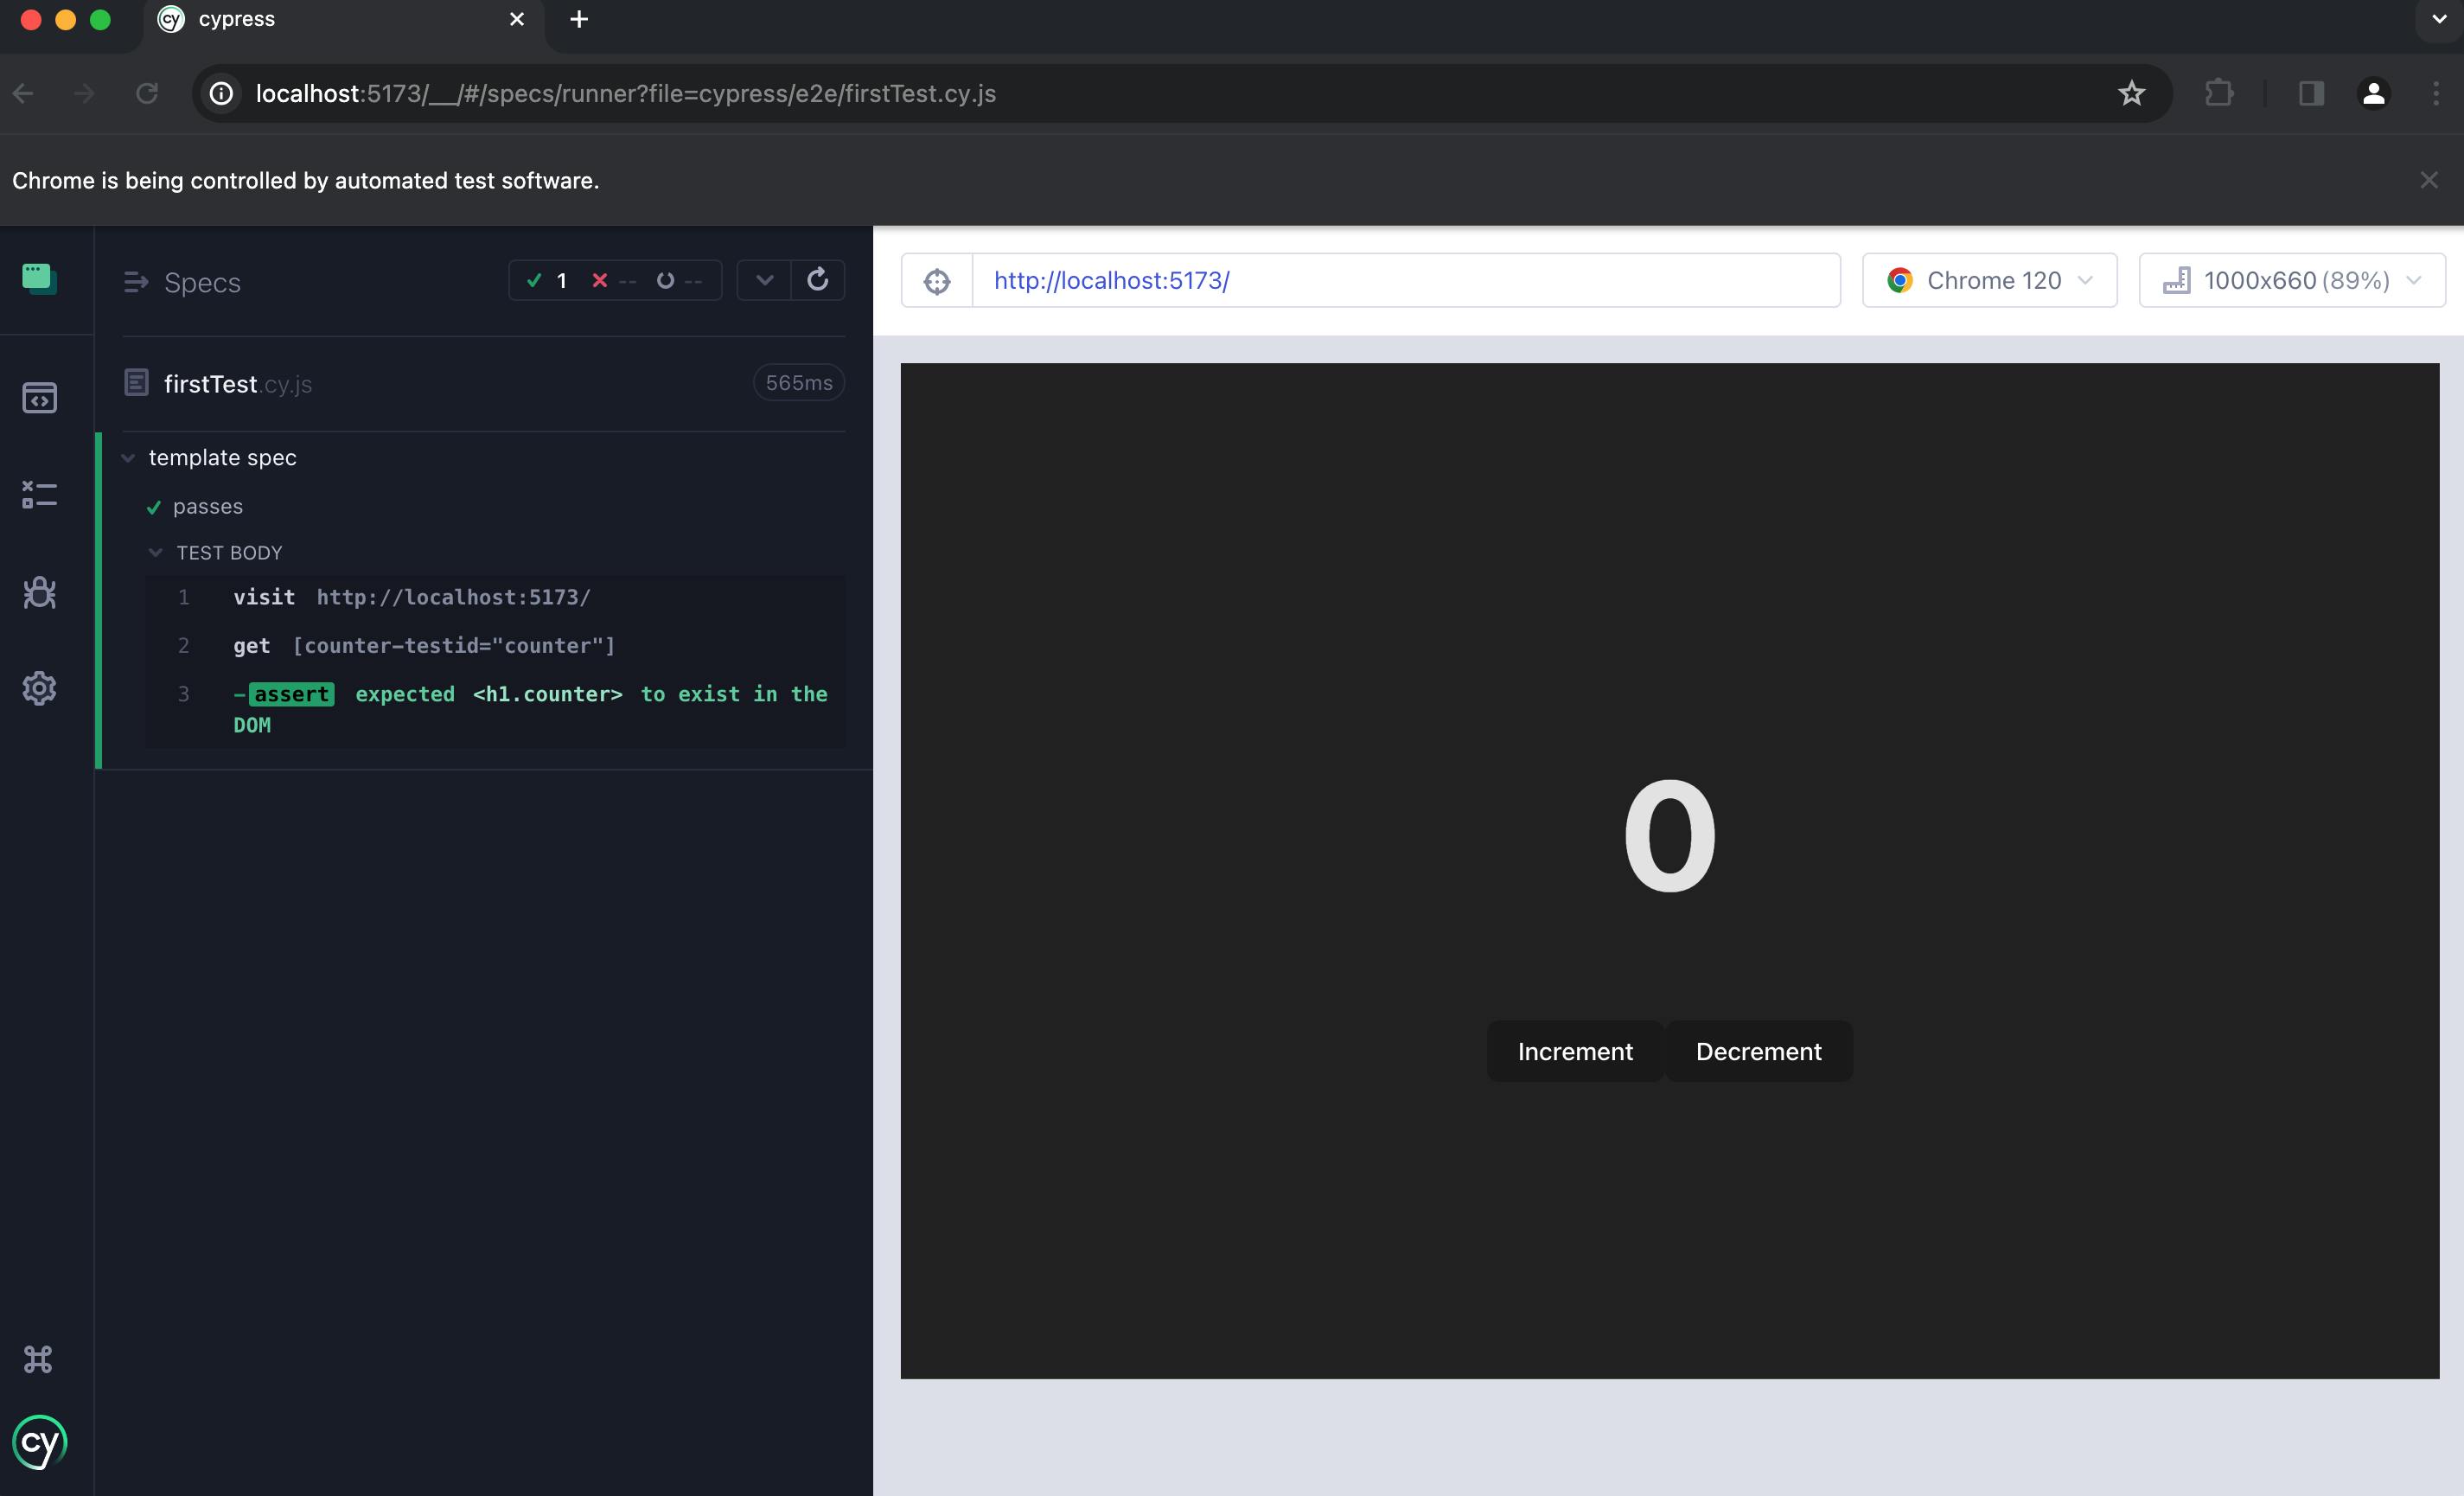
What the above line of code tells Cypress to get an element with the id "counter" and check if it exists.
Going back to your Chrome instance running Cypress you will see a message written in green and we all know what green stands for. Your test passed horray!
This is not an extensive test as we only tested the counter if it exits. The purpose of this article is to set up cypress and test the counter. Different edge cases can be tested to ensure the optimal performance of your app.
You can see that running tests is not difficult. Would you consider incorporating tests into your workflow?